Save 5% + a FREE Item + $25 Cash Back

How to Make Halloumi Cheese

posted on

March 2, 2020

WARNING: This is a recipe for a serious foodie. ;)

But if crispy, salty, toasty halloumi cheese sounds good to you, keep on reading.

If you’re wondering how to make halloumi cheese at home, we’ve got you covered. All it takes is just a few steps and a little bit of patience and you, too, can be a home cheese maker.

But first, a little background.

Halloumi cheese is a tasty white cheese that comes from Cyprus. This firm, salty cheese is traditionally seen in both Cypriot and Middle Eastern dishes. It's made from sheep or goat’s milk traditionally, but there’s no problem making it with grass-fed cow’s milk either.

Stored in its salted brine, this cheese has a high melting point, allowing it to be grilled or fried as you see fit. Let’s learn how to make this cheese homemade so you can please your whole crew with this tasty snack!

What to Know about Halloumi Cheese

Before you learn how to make halloumi cheese, there’s a few things you’ll want to know about this recipe you’ll be making.

This recipe will yield about a pound of cheese, but feel free to double or triple it if you want to make a big batch to store or give away to friends.

This recipe is for home cooks of all levels, from beginners all the way to experts. There’s limited skill required, just following directions. There’s also no aging required in this cheese process, so you can enjoy it much quicker. This recipe proves that making cheese can be fun!

Ingredients You Need to Make the Perfect Halloumi Cheese

For the cheese making process of homemade halloumi cheese, you’ll want to prepare your grocery list ahead of time so you can grab all the necessary ingredients. Here’s what you’ll need:

  • 1 gallon of milk (ideally not ultra-pasteurized)
  • 1/4 tsp Single Strength Liquid rennet (if you’re using raw milk, 1/8 tsp)
  • 1 pack of C21 Buttermilk Culture
  • 1/2 oz of salt
  • 1 ½ tsp lemon juice
  • dried mint (optional)

How to Make Halloumi Cheese From Scratch: Step by Step

Step 1: Heating the Milk

Start out by heating up your milk to about 88-90°F, heating gradually and be sure to continue stirring it as it heats up.

Once you get your milk heated to your ideal temperature, you can go ahead and add the culture (optional). The cultures are destroyed when heated to a higher temperature, but that’s okay. They will provide the important enzymes needed to ripen if you choose to preserve your cheese.

Stir to make sure it all incorporates well.

Step 2: Coagulating the Milk with Rennet

Next up, you’ll want to add ¼ teaspoon of liquid rennet diluted into about a quarter cup of water. It usually takes 30-40 minutes to reach total coagulation, but you’ll notice it start to thicken around 15 to 20 minutes.

You’ll notice that more rennet is used than normal. That’s because there’s little time to ripen or develop acid.

A hard curd is important for the rest of the process to come. Use a knife to begin breaking and then lifting to get the curd to split naturally. You’re looking for a smooth split ideally – you don’t want any small pieces in there.

You don’t want the whey to look too clear, but you also don’t want it too cloudy. Somewhere right in the middle is perfect.

Step 3: Cut Your Cheese Curds

Now your curd is good to be cut! Aim to cut squares of about 1 square inch vertically. Leave it to rest for a few minutes so it can heal. Use the back of a ladle or a spoon to then cut horizontally to make a grid of cubes.

Step 4: Cook the Curds and Remove from Whey

Stir your curds gently and slowly increase the heat on the stove to 100°F over a period of about 20-30 minutes. If you want a drier cheese, use a higher temperature here. Once this temperature is reached, let the curds settle for around 5 minutes beneath the whey.

Then, start pulling out the curds from the whey with a slotted spoon or ladle. Then, place them in a colander to further drain them of the whey.

Once the whey is fully separated, slowly heat it to about 185°F. Watch it carefully to ensure it doesn’t boil.

Step 5: Form the Halloumi Cheese Curds

Now you can go ahead and transfer your dried curds into their cheese cloth and forms for draining. Use your hand to apply light pressure to encourage the consolidation of curd. If you’re making more than one form, feel free to reverse and stack them on top of each other.

Try to turn them every 15 minutes or so in order to create cheese that is well consolidated.

Step 6: Make Ricotta with Your Leftovers (Bonus)

What to do with all that whey? You can make ricotta easily.

Stir gently while you heat the whey. Once it reaches 150°F, add in 1 ½ teaspoon of lemon juice into the whey. This will help to increase your ricotta yield.

Once your whey reaches 165°, you can add a teaspoon of salt and a pinch of milk into the whey. This will boost the richness of the ricotta that you skim off.

As it reaches 185°F, stop stirring the whey and let the ricotta rise to the top. This may take about 10 minutes, but cook time will vary. Then, you can skim off the ricotta and put it in a small cheese mold while it drains.

Now, once you’re done with your halloumi, you’ll also have a nice batch of ricotta waiting for you.

Step 7: Heat it in Whey

Now you’ll heat your halloumi into the whey. At this point, your cheese should now be formed into firm rounds.

Give your halloumi cheese the character its known for by heating it for about 30-40 minutes in the whey at around 190-195°F until all of the halloumi is cooked. Use a ladle or a small basket while cooking to keep the cheese from resting on the bottom, otherwise it may stick. As the cheese cooks, it won’t sink to the bottom so much.

When all of the cheese is floating, it’s good to be removed and cooled. You can cool it by placing the cheese in a bath of cold water and then laying it on your draining mat to continue cooling.

Step 8: Finishing Touches (and Salt)

It’s now time to add the finishing touches and salt to your cheese before eating! While the cheese is still a little bit warm, flatten it with a bit of hand pressure in order to form a wider disc of cheese. Then, finish it by sprinkling on:

  • Mint - Use enough dried mint leaves to completely cover the surface of the cheese. If you can’t find dried mint, there’s no harm in using fresh mint as long as you’re consuming it fresh.
  • Salt - Use about ½ an ounce of cheese salt on top of one side of the cheese. This will be about 3% salt. If you want to add preservation, increase it to 5%.
  • Lemon juice - Squeeze a bit onto the cheese for a zesty bite.
  • Olive oil - Olive oil is a great addition to add just before eating to counteract the saltiness.

Then, you can fold the cheese into a crescent shape and press on it a bit to consolidate as it cools.

When finished, you should have about a pound of halloumi cheese and about a half pound of ricotta. If you used more than one gallon of milk, you can expect double or triple the yield as needed.

How to Store Your Halloumi Cheese

You can grill and eat your halloumi fresh after making it or you can age it for longer! All you need to do is wait the initial 3-5 days for it to set.

If you’re ready to grill the cheese now, then you can set out a griddle or a cast iron skillet over medium-high heat with a little bit of oil. You can even cook it straight on the grill. Place the cheese onto the pan and let it caramelize and start to crisp up. You’ll notice it won’t melt even under high heat – that’s the beauty of halloumi!

You can also use it to stuff other foods – grilled vegetables, peppers, etc. Feel free to use it in kabobs, in wraps, or on top of salads for more salty cheesy fun.

You can also store the cheese for longer. Store it in the fridge as it is, or store it in a tightly covered jar with a brine of about 10 percent. The cheese used after brining will be saltier but it’s great to use in place of a salty cheese, like feta.

Conclusion

If homemade cheese is what you’re after, you can have it just a short time by following the directions above. There are just a few ingredients required, so there’s nothing stopping you from being your own cheese maker. Enjoy!

If you enjoyed this recipe, you'll find it's even easier to make your own cottage cheese. Read the recipe: How to Make Homemade Cottage Cheese
Recipes

More from the blog

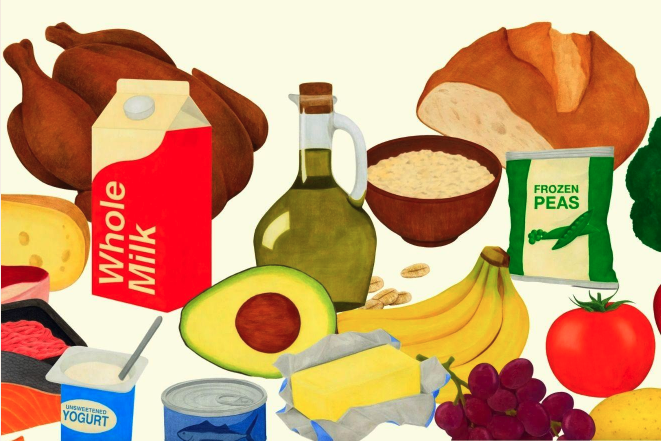
America's BIGGEST Nutrition Policy Blunder

Good morning,Today we look back in time...The year was 1992. I was six years old.That was the year the iconic Food Pyramid was introduced to the public. It quickly became seared into the minds of Americans as the symbol of a healthy diet for the next 30 years.Schools taught it.Doctors referenced it.Food companies built entire marketing campaigns around it.I remember walking the grocery store aisles as a kid and seeing a barrage of marketing claims on cereal boxes and Pop-Tarts that proudly read, “Part of a healthy diet.”Looking back now, that claim feels almost unbelievable.The original Food Pyramid never bothered to distinguish between refined grains and whole grains. And it treated all fats as bad.So Americans were told, for decades, to build their diets around foods that were often highly inflammatory and damaging to gut health. Since that day, here’s what followed: Obesity rates doubledType 2 diabetes skyrocketedUltra-processed food consumption surgedMore than 70% of American adults are now overweight or obeseNearly 90% of healthcare spending now goes toward treating chronic disease When people ask me what I think about the recently introduced “Upside Down Food Pyramid,” my response is simple: Why did it take more than 30 years to turn this thing on its head? In my opinion, the 1992 Food Pyramid will go down as one of the great policy blunders in modern American history.The USDA's updated dietary guidance is finally acknowledging what many regenerative farmers have understood for decades: It recognizes healthy fats as an essential part of a restorative diet.It emphasizes the importance of gut health, including fermented foods.It plainly states we should avoid highly processed packaged and prepared foods.It directly (and correctly) links the Standard American Diet to the wave of chronic health conditions Americans are battling. The guidelines also acknowledge that people with chronic disease, like myself, may need to adapt these dietary recommendations to their own health situation. That point is incredibly important. And one last thing.This shouldn’t be taken as a political statement.The truth is, the low-fat, high-carb diet didn’t come from one political party. It was embraced by both Democrats and Republicans. And, for more than 30 years, neither side seriously questioned whether it was working.Meanwhile, chronic disease kept rising and the industrial food system kept expanding.I’m simply thankful to see this policy finally getting turned upside down the way it should have been all along.At the end of the day, most of us don’t need a government chart to tell us what good food looks like.Real food raised responsibly.Ingredients you recognize.Meals shared around a table with people you care about.That’s the kind of food system we’re working to build here at Seven Sons.And we’re grateful to have so many of you walking that path with us.

25 Years of Seven Sons (Some OLD SCHOOL pics!) 📸

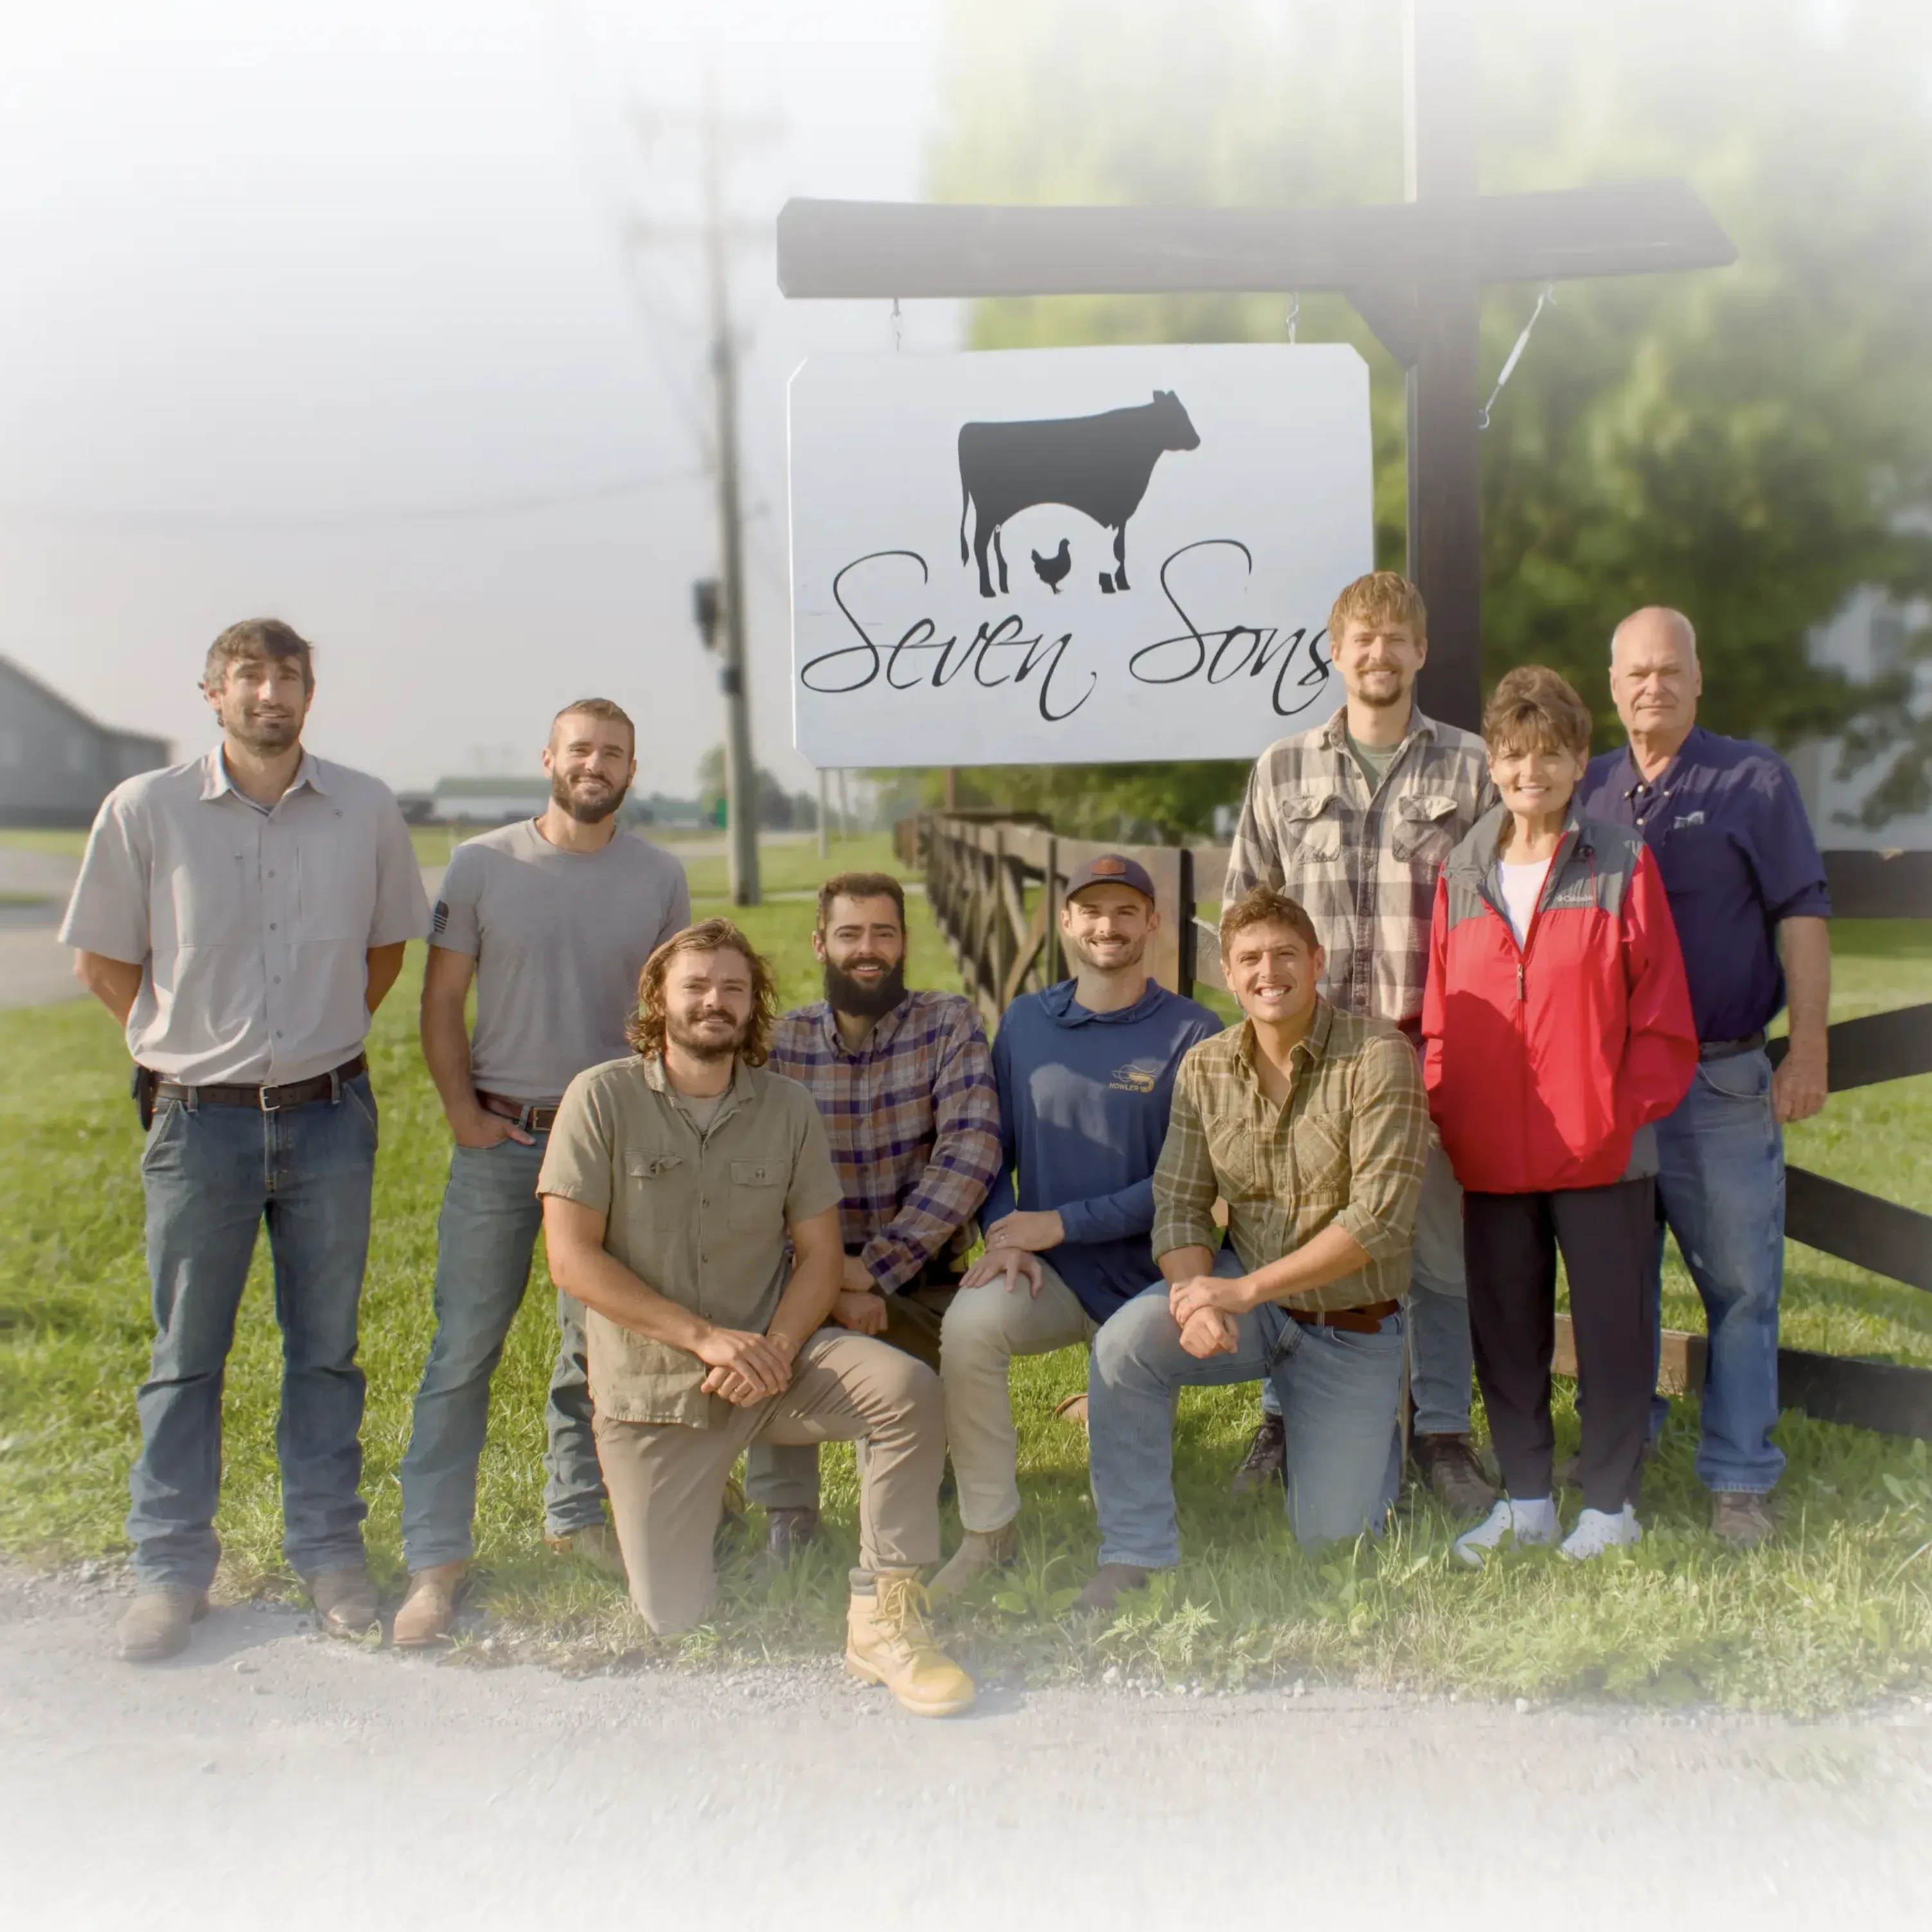
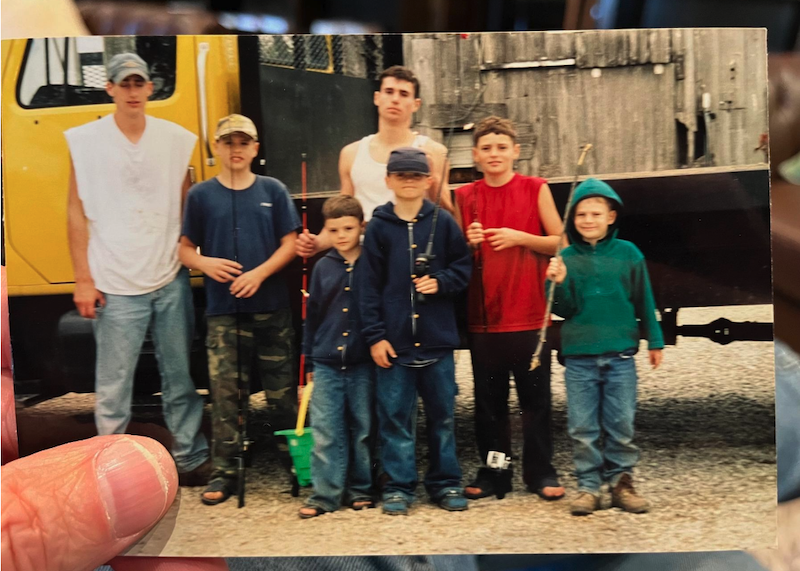
A few weeks back, at our annual team Christmas party hosted right here in the farm order fulfillment area, I took our team members and their guests on a trip down memory lane.While we served over 25,000 unique families in 2025, the truth is that our farm had VERY humble beginnings, rich with challenges, uncertainties, and failures.I’ll never forget one evening when I was probably 12 years old. Dad sat Blake and me down and asked if we’d be willing to invest the cash we had saved in glass jars to help pay for the first cattle fencing we needed to build.That was a lot of weight for young boys to carry.But we said yes.Looking back now, I never could’ve imagined that those jars of cash would one day multiply into what Seven Sons has become today.The purpose of my storytelling that night was to enrich the team's understanding of our farm's story, and celebrate 25 years of serving customers, regenerating the soil, producing nourishing, healthy food, and raising animals with care.It was a fun exercise. :)And, so, for just 2-3 minutes I invite YOU on this same journey. Take a trip down memory lane with me... The year was 1999, and Y2K (the fear of what would happen when all the computers rolled over to a new century) was on the horizon.Mom, Dad, Blake, and I worked hard to create our first-ever product, Canned Beef - a shelf-stable staple item in high demand at the time.It was the only product we sold.The good news is that it sold very well!!The bad news was that after Y2K passed without a hitch, people had too much, and demand plummeted. While we still sell our canned beef today, we had a BIGGER vision than selling one product, so we got busy innovating. In the late 1990s / early 2000s, the internet and "selling online" was just in its infancy.  Mom and I agreed that a good home schooling project would be for me to build the first Seven Sons website. (pictured above).I'm happy to report I finished my project, but I'm unhappy to report we NEVER earned a single customer through this first version of SevenSons.net.(The marketer in me now understands why. 😂)Thankfully, the spark for online marketing was ignited in me, and I continued to learn and take steps to effectively reach customers online in the coming years. Our next step was to open a self-serve on-farm store so that customers could buy from us 7 days a week, and we could support our sales beyond the few sales we'd make at farmers' markets in the area.It was about this time that I started dating my wife, Charis.On one of my early visits down to visit her family in Warren, IN, I happened to notice this shed (pictured above) on the back of her family's property. I couldn't help but notice that it looked like a pretty ideal farm store.🤔She encouraged me to ask her parents if we could buy it to start our family's on-farm store, and they gave it to us. Interestingly, Charis' grandpa has started a business with the same shed years ago, and so her parents were more than happy to see the tradition carry on.We were in business shortly thereafter... With the vision of growth and packing more and more orders over time, we built our first fulfillment and packing "room".With the mix of a refrigerator, a few freezers, and an area to weigh and package goods, we were on our way to working more efficiently. My friend, this BIG truck, affectionately called "THE BEAST," is what we used to make our first home deliveries in the area, and eventually all the way to Chicago.There were many, many days of rolling down the interstate, first with Blake, and then with my other brothers as they got old enough to make the trip. There was no A/C, so those July and August trips were especially warm. And, sometimes the trips were adventurous...One memory stands out more than most...I remember standing in the back of that reefer truck on a cold November day in Munster, Indiana. Ice and rain were coming down, and there were more than 30 families lined up behind the truck waiting to pick up their Thanksgiving orders.As I think back on that moment now, I’m overwhelmed with gratitude.Every one of those families chose to skip the grocery store.Every one of them trusted us with their holiday meal.And those choices repeated thousands of times over the years, are the reason this farm is still here today. And that brings us to our first ever team Christmas party...The impact this year for our people, our greatest asset, was strong as they could look around the room to see the now nearly 100 people enjoying a meal, playing games and leaving with some thank you gifts.Each word of this story is only possible because of the folks reading it. If you read our Manifesto, you will learn that behind the scenes of this 25-year journey, there were many hardships that nearly ended the journey.The belief, patience, good will and partnership we've received from our customers over the years means more than you know to mom, dad, my brothers and I.THANK YOU.❤️Let me close by saying that 25 years in we are more inspired than ever and the vision we have is grand.We invite you to continue on that path with us...to enjoy healthy food you can eat with confidence, and help us continue to lead for much needed change in the food systems and agriculture

Your Custom Box
Empty Box

Get started by adding a product to your custom box

Build My Box
Subscribe & Save
What you get when you subscribe to your box:
  • 5% savings site-wide

  • Free item with each delivery (choose below)

  • $25 store credit to use on your next order - Available to first-time subscribers only

  • 100% Customizable - Pause, skip, or cancel anytime with no penalties

Choose Your Free Item
1 lb. Ground Beef
1 lb. Ground Beef

$12.60 FREE

Qty 1

1 pkg. Bacon-Infused Burgers

$10.95 FREE

Qty 1

1 lb. Breakfast Sausage

$12.75 FREE

Qty 1

Choose Your Frequency

You can always change these choices later.

Before You Get Started

📍Enter your postal code so we can confirm delivery

Postal code

Great! We're going to deliver your next order to !

Sorry, we couldn't find that postal code!

Check delivery availability

Your postal code helps us to provide the most up-to-date product and delivery information.

Nearby?

,

Need it shipped?

Subscription promo image
Get Started
Let's make sure we deliver to you
Postal Code
Email

By providing your email, you agree to our Terms of Service and Privacy Policy and agree to receive marketing emails

Already have an account?

Secure. Easy. Delicious

Session Expired

Your session has expired. Please log in again to continue.

Log In